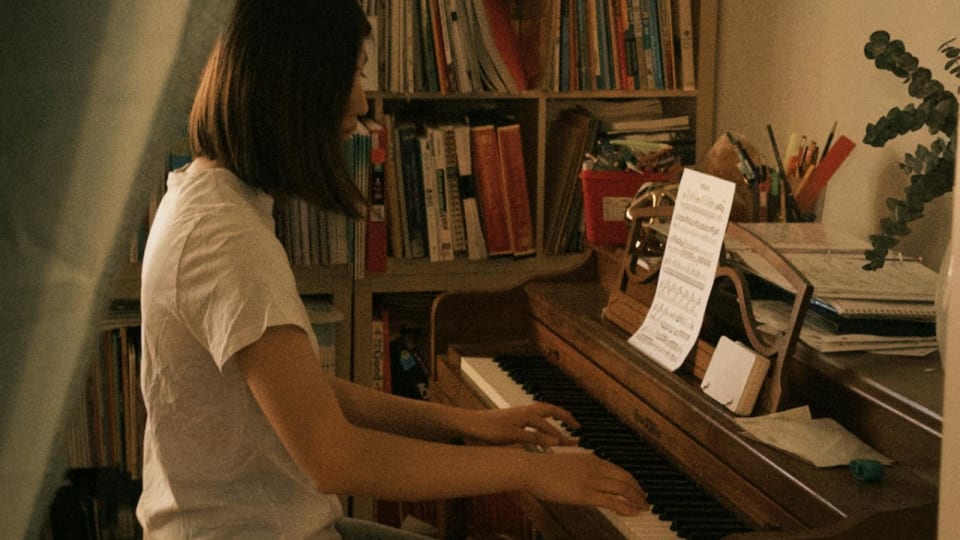
Listen to any intermediate piano recording. The first thing that gives the level away is not the notes. It is the pedal. The harmonies blur. The bass smudges across changes. The release is too late or too early. The right hand sounds disconnected from the left. None of this is about the hands — they are usually doing their job — and the pianist is rarely even aware of what the listener is hearing. Pedaling is the most audible weakness in adult piano playing and the least deliberately practised technique on the instrument.
The reason is structural. Pedaling is taught last, marked in a separate symbolic language at the bottom of the score, and almost never practised on its own. Most students put the pedal down with the chord, hold it through the bar, lift at the next change, and call it done. The result is a wash of sound that ruins recordings, obscures voicing, and makes any harmonic motion feel muddy. The fix is to treat the pedal as its own skill — built in four layers, with a listening test for each, and practised deliberately in isolation before being recombined with the notes.
Why pedaling gets neglected
Three reasons keep pedaling underdeveloped. The first is that scores mark pedaling unevenly. Beethoven was famously specific; many Chopin editions are inconsistent; Bach contains almost no pedal markings because the instrument did not yet have a damper pedal. The result is that a student receives unclear, partial, often editorial guidance about where to pedal, with no instruction in how. The Pract.is article on choosing fingerings and when to override the edition's covers a related editorial problem; pedal markings deserve the same scrutiny.
The second reason is that the foot can move without the player noticing. While the hands are busy producing notes, the right foot operates on autopilot — the same depth, the same timing, the same release pattern, regardless of what the music requires. Most pianists could not tell you, mid-piece, what their pedal foot is doing. That unconscious operation is exactly why it rarely improves.
The third reason is that pedal effects only fully reveal themselves in recordings or in good acoustics. At the bench, the bone-conducted sound of your own playing masks much of the pedal blur. The Pract.is essay on why your recordings sound worse than the take felt covers the felt-vs-heard gap; the pedal version of that gap is severe. The pedal that sounded fine at the bench reveals itself as ruinous on playback. By the time it is audible, it is already a deeply trained habit.
"Most pianists could not tell you, mid-piece, what their pedal foot is doing. That unconscious operation is exactly why it rarely improves."
Level 1 — Syncopated pedal (the only foundation that matters)
The first and most important pedaling technique is also the most consistently taught wrongly. It is called syncopated pedal or legato pedal, and it answers the basic question: how do you connect one chord to the next without either silence or blur? The mechanic is precise. When the new chord arrives, you do not press the pedal at the same moment as the chord. You release the pedal just before the new chord, then depress it a fraction of a second after the new chord has sounded. The result is a clean catch — the old chord's resonance dies on the release, the new chord arrives undamped, and the pedal then captures the new harmony cleanly.
The reason this works is that the pedal raises the dampers off every string in the piano. If you depress the pedal while the old chord is still sounding, the old chord's harmonics ride into the new chord. If you depress simultaneously with the new chord, you capture both. Only by releasing first, then catching after the attack, do you get a clean harmonic change with continuous resonance.
Syncopated pedal — timing
Chord 1
sounds
Pedal down
held
Foot lifts
just before
Chord 2
sounds
Pedal down
a fraction late
The foot rises just before the new chord and falls a fraction of a second after it. The new chord arrives clean, the old chord's resonance dies, and the pedal catches the new harmony without blur.
The practice for syncopated pedal is best done in isolation, with two-chord patterns and no melody. Play a C major chord, hold it under pedal for two beats, then play F major two beats later — and focus only on the foot, executing release-then-depress around the second chord. Repeat for an hour, across many chord pairs, before reintroducing it inside actual repertoire. Five sessions of this kind of isolated work change the foot's reflex permanently. The listening test is harmonic cleanliness: the second chord should sound entirely on its own, with no audible leakage from the first.
Level 2 — Pedal depth
The second layer is pedal depth. Adult learners overwhelmingly press the pedal to the floor on every change — the only depth they have ever practised. The pedal is a continuous mechanism with at least four useful positions: full depth (all dampers fully off the strings), three-quarter (most dampers off), half-pedal (dampers just touching the strings, partial damping), and just barely engaged (a hint of sustain). Each produces a different acoustic result, and the choice matters enormously in dense textures.
Full depth is appropriate for clean, well-separated chord progressions where each chord deserves full resonance. Three-quarter depth helps in moderate textures where some harmonic blending is wanted but not full overlap. Half-pedal is the workhorse for fast harmonic motion in pieces like Chopin nocturnes — where the harmonies change too quickly for full clean changes but full damping would kill the line. The bare engagement is for moments where you want a touch of warmth without committing to sustain.
The practice for depth is again best in isolation. Pick a single chord. Press the pedal to four different depths in turn — full, three-quarter, half, barely — and listen to each. The differences are subtle on a digital piano and dramatic on an acoustic. Adult learners often discover, in a single session of this work, that their piano has dynamics under the foot that they had never used.
Level 3 — Half-pedal, flutter pedal, partial release
Once depth is real, three specialised techniques become available. Half-pedaling is constant operation at the half-depth — useful for sections where the texture is too dense for clean changes but the harmony moves too fast for full depth to work. Flutter pedaling is rapid small lifts and depressions — the foot moves between, say, half-depth and three-quarter several times per beat, gradually clearing the texture without ever fully releasing. Partial release is a controlled lift to about a quarter depth, holding for a fraction of a second to thin the texture, then re-depressing.
These are not parlour tricks. They are how pianists handle fast harmonic motion in Debussy, in Liszt, in late Chopin, in much of the impressionist repertoire. A pianist with only full-depth pedaling literally cannot play those passages cleanly — the harmonic motion outruns the foot's binary up-or-down model. Half and flutter pedal give the foot a continuous control surface that matches the continuous harmonic flow of the music.
The practice is to take a single passage that demands constant pedal change — the opening of a Chopin nocturne is ideal — and play it deliberately with each technique. Full-depth changes first, then three-quarter, then constant half-pedal, then flutter. Listen to each. The "right" choice is rarely the one a beginner would pick, and the differences are immediate once you start listening for them.
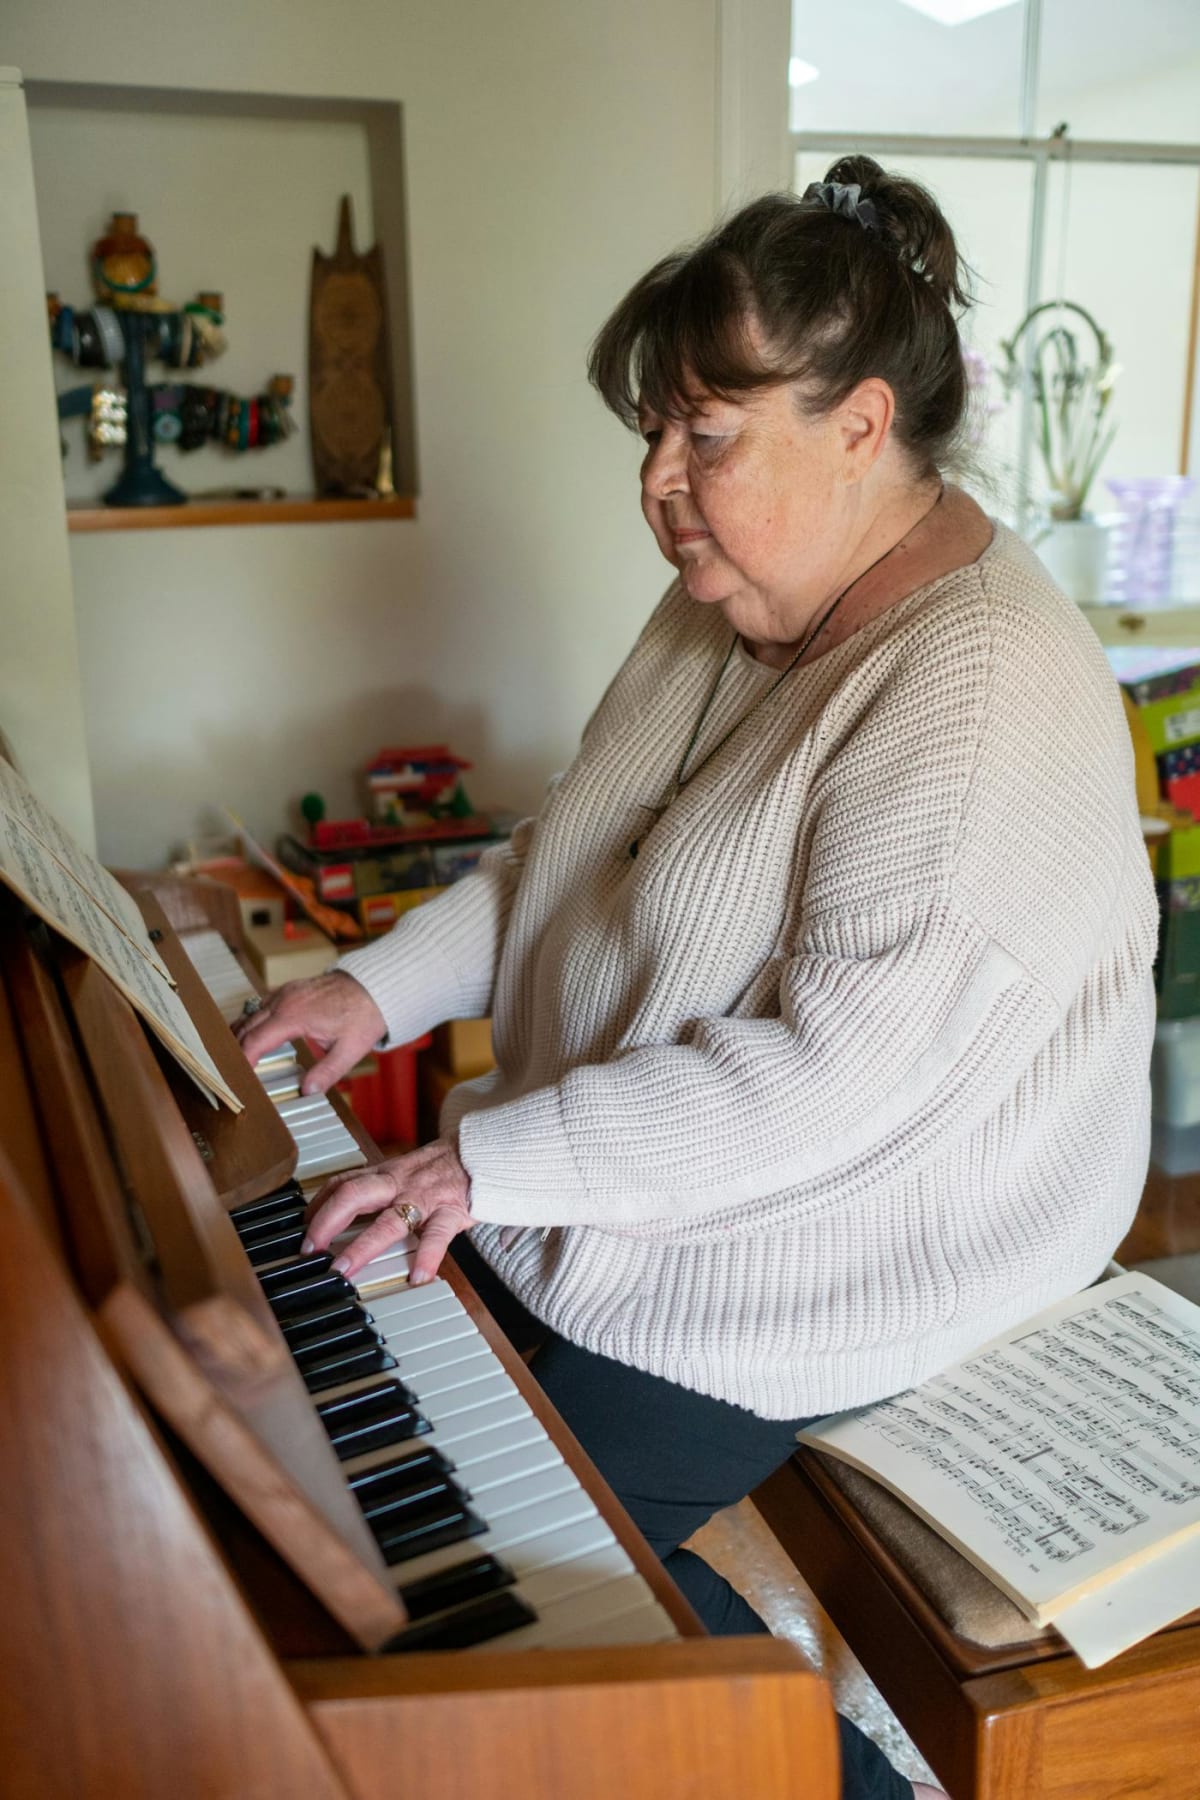
Photo: cottonbro studio via Pexels
Level 4 — Pedal as structural element
The deepest layer of pedaling is not about cleanness. It is about structure. A great pianist uses the pedal to define phrases, mark transitions, and shape sections — the same way they use dynamics and articulation. A new section can be announced by a deliberate pedal release. A phrase can be closed by a slow lift. A modulation can be coloured by a sudden change in pedal depth. These choices are interpretive, not mechanical. They reward thinking about the pedal as an instrument of architecture, not just sustain.
This is also where the unmarked pedal comes in. Many scores mark pedal sparsely; the pianist is expected to make decisions about when to use it and when to leave it. A pianist with only Level 1 mastery has no real choices — they pedal where the score says and not otherwise. A pianist with Level 4 awareness uses pedaling as a compositional layer of the performance, deliberately, in service of the piece's larger shape.
The Pract.is article on why your slow movements sound empty covers the related work of pacing, breath, and harmonic shape in slow music. Pedal is one of the five exposed layers in that essay — and at the structural level, it stops being a separate skill and becomes part of the larger musical decision-making.
Silent pedal practice
The single most useful practice technique for pedaling is to remove the notes entirely. Sit at the piano, place your right foot on the damper pedal, and practise the foot mechanic with no hands involved. Press, hold, release just before a metronome click, depress just after. Repeat for ten minutes. Vary the depth. Practise flutter. Practise partial releases. The foot's coordination is built in this isolated work in a way it never is when the hands are taking most of the attention.
This is the same principle as hands-separate practice for the hands — but almost no pianist applies it to the foot. The reason is partly that the foot's job feels too simple to warrant isolation. It is not. Pedal timing requires the same independence-of-limbs work as any other coordination skill, and ten minutes of foot-only practice a week will produce changes in your pedal reliability that years of "play the piece and try to pedal better" never will.
"Ten minutes of foot-only practice a week will produce changes in your pedal reliability that years of 'play the piece and try to pedal better' never will."
Marking pedaling in the score
Most pianists mark their fingering carefully in the score and ignore pedaling entirely. This is backwards. Pedal markings tend to be the most editorial part of a score — different editions of the same Chopin piece often have completely different pedal indications, sometimes contradictory ones. The pianist is, in effect, expected to make pedal decisions, and the responsible move is to write those decisions down.
A useful marking system uses three symbols: Ped for "depress here," * for "release here," and a connecting line for sustained pedal across multiple beats. Add depth indicators where the choice matters — "half" or "1/2" written under the pedal mark for half-pedal sections. The Pract.is essay on using a practice log without turning it into homework covers what is worth tracking in general; pedal choices are worth tracking because they decay if you do not write them down, and the next session will redo the decision-making work from scratch.
Listening tests for each level
Pedal work is invisible to the player at the bench and obvious on a recording. The listening tests below are how to evaluate your own pedaling honestly — each focused on the layer that matches.
| Level | What to listen for | The failure sound |
|---|---|---|
| Syncopated pedal | Each new chord arrives clean, with no harmonic leakage from the previous chord | Bass smudge across chord changes; chord 2 muddied by chord 1's resonance |
| Depth | Pedal depth matches the harmonic density of the passage | Constant full-depth blur in dense textures; constant shallow pedal in open ones |
| Half / flutter | Fast harmonic motion stays clean without full damping killing the line | Either everything blurs together or the line keeps cutting off between chords |
| Structural | Pedal changes correspond to phrase boundaries, section starts, modulations | Pedal feels mechanical; no relationship to the music's larger shape |
Common mistakes worth naming
A few specific patterns ruin pedaling consistently across adult learners. The first is pedaling with the chord — depressing the pedal at the exact moment the chord is struck, capturing both the new chord and the dying resonance of the old. This is the default for anyone never taught syncopated pedal, and it produces the most common kind of harmonic muddiness.
The second is holding too long. The foot stays down across multiple harmonic changes because the pianist forgot to lift, was distracted by the hands, or simply never internalised that pedaling moves at the rate of the harmony. The third is full depth always, covered above — using the pedal as a binary mechanism in a piece that requires continuous control. The fourth is never pedaling at all in pieces that need it — an over-correction by pianists who have been told their pedaling is muddy and now play everything dry.
The fifth is to treat the una corda pedal (soft pedal) as on or off. The left pedal is also continuous on a grand piano — partial engagement produces different tones from full engagement. Most pianists never explore this. Sostenuto, the middle pedal on most grand pianos, is genuinely unused by 95% of amateur players who own a piano with one; this is a small loss but worth knowing about for pieces that benefit (some Debussy, some Ravel, the occasional Liszt). The Pract.is article on why recordings sound worse than the take felt applies particularly to all three pedals — what you hear at the bench is not what the microphone hears.
A practice protocol for an existing piece
If you have a piece in your active repertoire and want to upgrade its pedaling specifically, the protocol below works for most cases. It takes about a week of short sessions and produces audible change.
Day one: read through the piece with the pedal entirely off. Listen to where the harmonic line falls apart without it. Mark those exact spots in the score. Day two: silent pedal practice on the foot mechanic alone — ten minutes, no notes, just timing. Day three: play the piece with deliberate Level 1 syncopated pedal at every marked spot, slowly, listening for clean catches. Day four: experiment with depth at the spots where the texture is densest; mark your choices. Day five: record the piece. Listen to the recording at full speed, paying attention only to pedal. Day six: repeat day three with the recording's discoveries. Day seven: a full recording and comparison with day five.
The change in the recordings between day one and day seven is reliably noticeable. Pedaling is the technique that most consistently produces visible improvement in a week of structured work, because it is the one most adult learners have never practised deliberately in the first place. The starting point is so low that almost any focused attention moves it.
The longer principle
Pedaling is the most under-trained part of adult piano playing and the most audible improvement available to anyone willing to do the isolated work. The hands carry the responsibility for the notes; the foot carries the responsibility for the sound. Both are skills. One gets practised endlessly, the other almost never. The asymmetry is correctable — and the correction shows up in recordings within days, not months.
The deeper move is to stop thinking of the pedal as sustain and start thinking of it as a continuous control surface that shapes the harmonic and acoustic life of the piece. At Level 1, you connect chords cleanly. At Level 4, you use the pedal to define what the piece is doing structurally. Most pianists never leave Level 1, and many never reach it cleanly. The work of moving up the levels is not glamorous — silent foot exercises, listening tests, marked depth choices — but it is the work that turns a competent piano performance into a polished one.
The foot is half the instrument. It is worth practising like one.